Showing posts with label dessert. Show all posts

Friday, February 3, 2012

Paris Fridays: Meilleur Ouvrier de France (MOF)

Our first exposure to the acronym MOF was after watching Kings of Pastry on Netflix. Without going into too much detail, the Meilleur Ouvrier de France is a title bestowed upon chefs and pastry chefs who participate in a strenuous culinary competition with other expert chefs. I would recommend watching the movie if you are interested.

My favorite part of these chocolate and pastry shops is the presentation. Everything is clean, sleek, and beautifully arranged. People working behind the counter use gloves to handle all of the sweet treats. The French truly have an appreciation for elevating food to an art.


le macarons


bins of chocolate, nuts, and dried fruits


chocolate sculptures on display

I could honestly roam around these shops for hours smelling, tasting, and taking pictures of the delicate confections. 

Thanks for reading and have a beautiful weekend! 


Monday, January 23, 2012

Dining In: Durham, NC - Daisy Cakes

I can't believe it is almost the end of January. January has been a particularly cold month, which always makes me crave sweets and warm drinks. A friend suggested that we head to Daisy Cakes for an afternoon tea and cupcakes, which I'm always up for. 

Daisy Cakes is located on Foster St. right next to the Durham Farmer's Market. The shop appears to have only been open for a few months, but I recall seeing their cupcake truck, "Sugar,"  making rounds at the Farmer's Market. Unfortunately every time I attempted to get to them early enough on Saturdays, they were always sold out of cupcakes. 


The cafe itself is extremely clean and modern feeling with white on brick. Several choices of cupcakes were offered as well as cookies, marcarons, and a decent savory menu for lunch. 


coconut cupcake with passion fruit frosting


might leaf chamomile and citrus tea

I loved the dishes and mugs used here. They were clean, modern, and adorable. The cupcake itself was somewhat dry although the frosting was interesting and creamy. I think next time I'll try a more classic cupcake like chocolate or vanilla next time to see if it has more moisture. I'd probably also throw in a chocolate chip cookie for kicks. 

Even if you aren't a big fan of sweets, this place is worth checking out for a quiet, casual afternoon of tea and treats with friends. Great atmosphere, drinks, and service! 

Have a great Monday! 


Friday, December 23, 2011

Mandel Bread

One of my favorite things about growing up in New Jersey was having so many Jewish friends. The rich history and culture was something that was so fascinating to me and talk about the food! 

Mandel bread was something I remember crunching away on whenever I was with the Cohen Family and this holiday season my friend shared the family recipe. Since I made a vegan version, I used this recipe for the egg substitute, but followed my friend's recipe. 

Vegan Mandel Bread recipe from the Cohen's
Ingredients
Wet
3 eggs (at room temperature) - (vegan substitute = 3 tbsp ground flax seed mixed with 9 tbsp hot water)
3/4 c sugar
3/4 c vegetable oil
2 tsp vanilla extract

Dry
3 and 1/2 c unbleached, all-purpose flour
2 tsp baking powder
1 pinch salt

1/2 cup semi-sweet chocolate chips
1/2 cup chopped walnuts

Directions:
1. Preheat your oven to 350.

2. Mix the wet ingredients into the dry until about half way mixed through. Then add semi-sweet chocolate chips and walnuts.

3. Mix everything (best to use your hands at this point) until all combined into a big dough ball. Do not overmix!

4. If the dough is too dry, add a little bit of OJ or milk. If the dough is too wet, add some more flour—everything should combine easily into a ball.

5. Line cookie sheet with aluminum foil or use a silpat like I did. 

6. Section the dough into thirds. With the palm of your hand, spread out the dough into rectangular loaves, approximately 1/2-3/4 inch thick, 3-4 inches wide, and 7-9 inches tall 

7. Each baking sheet will then have 3 loaves.

8. Bake the loaves for about 35 minutes, or until top looks cooked (should still be pale in color, not brown).

9. Cut the loaves into 1/2 inch wide slices and turn the cookies on their sides. Put back in the oven for about 20 minutes, or until they are lightly brown and toasty. Some prefer them a bit more crispy, and some like them more doughy—either way, it's all up to you!

Variation: Drizzle with chocolate for a festive decoration or dip in chocolate. 

Apparently, mandel bread is Yiddish dessert that has connections with Italian biscotti - hence the shape and texture. These are fabulous with some afternoon tea or lazy weekend coffee. 

Happy Hanukkah and Merry Christmas everyone! 

Wednesday, October 12, 2011

Japanese Custard Pudding

If you've ever been to Asia, you likely have encountered various forms of pudding made of yellowy, egg custard topped with a layer of velvety caramel sauce. This much beloved dessert has spawned cartoon characters, popsicle flavors, and even pudding-shaped costumes. 

This weekend, The Husband and I decided to try our hand at making this dessert with the help of the Cooking with Dog series. This is a hilarious Japanese youtube series in which a gray poodle narrates all of the instructions while a deft Japanese woman demonstrates. 

Japanese Custard Pudding
Serves 4, depending on size of custard cup

Ingredients
Caramel Sauce
4 tbsp Sugar

1 tbsp Water

1½~2 tbsp Hot Water

Custard Pudding
2 Eggs

250 ml Milk (8.45 fl oz)

5 tbsp Sugar

4 Pudding Molds
Small tab of unsalted butter

Directions
1. Coat inner surface of pudding mold with unsalted butter. Makes removal from molds easier after the custard has set.

2. For caramel sauce, place sugar and room temperature water in a pot and heat at medium heat. Swirl the pot back and forth while the sugar caramelizes to a golden brown color. (Make sure you don't burn the sugar or it will taste bitter!)


3. Remove from heat. Then pour hot water into the caramelized sugar to thin out the caramel and deglaze from sides of the pot. (Be careful as this process will release a lot of steam so don't burn yourself.)  Pour sugar into pudding molds. 


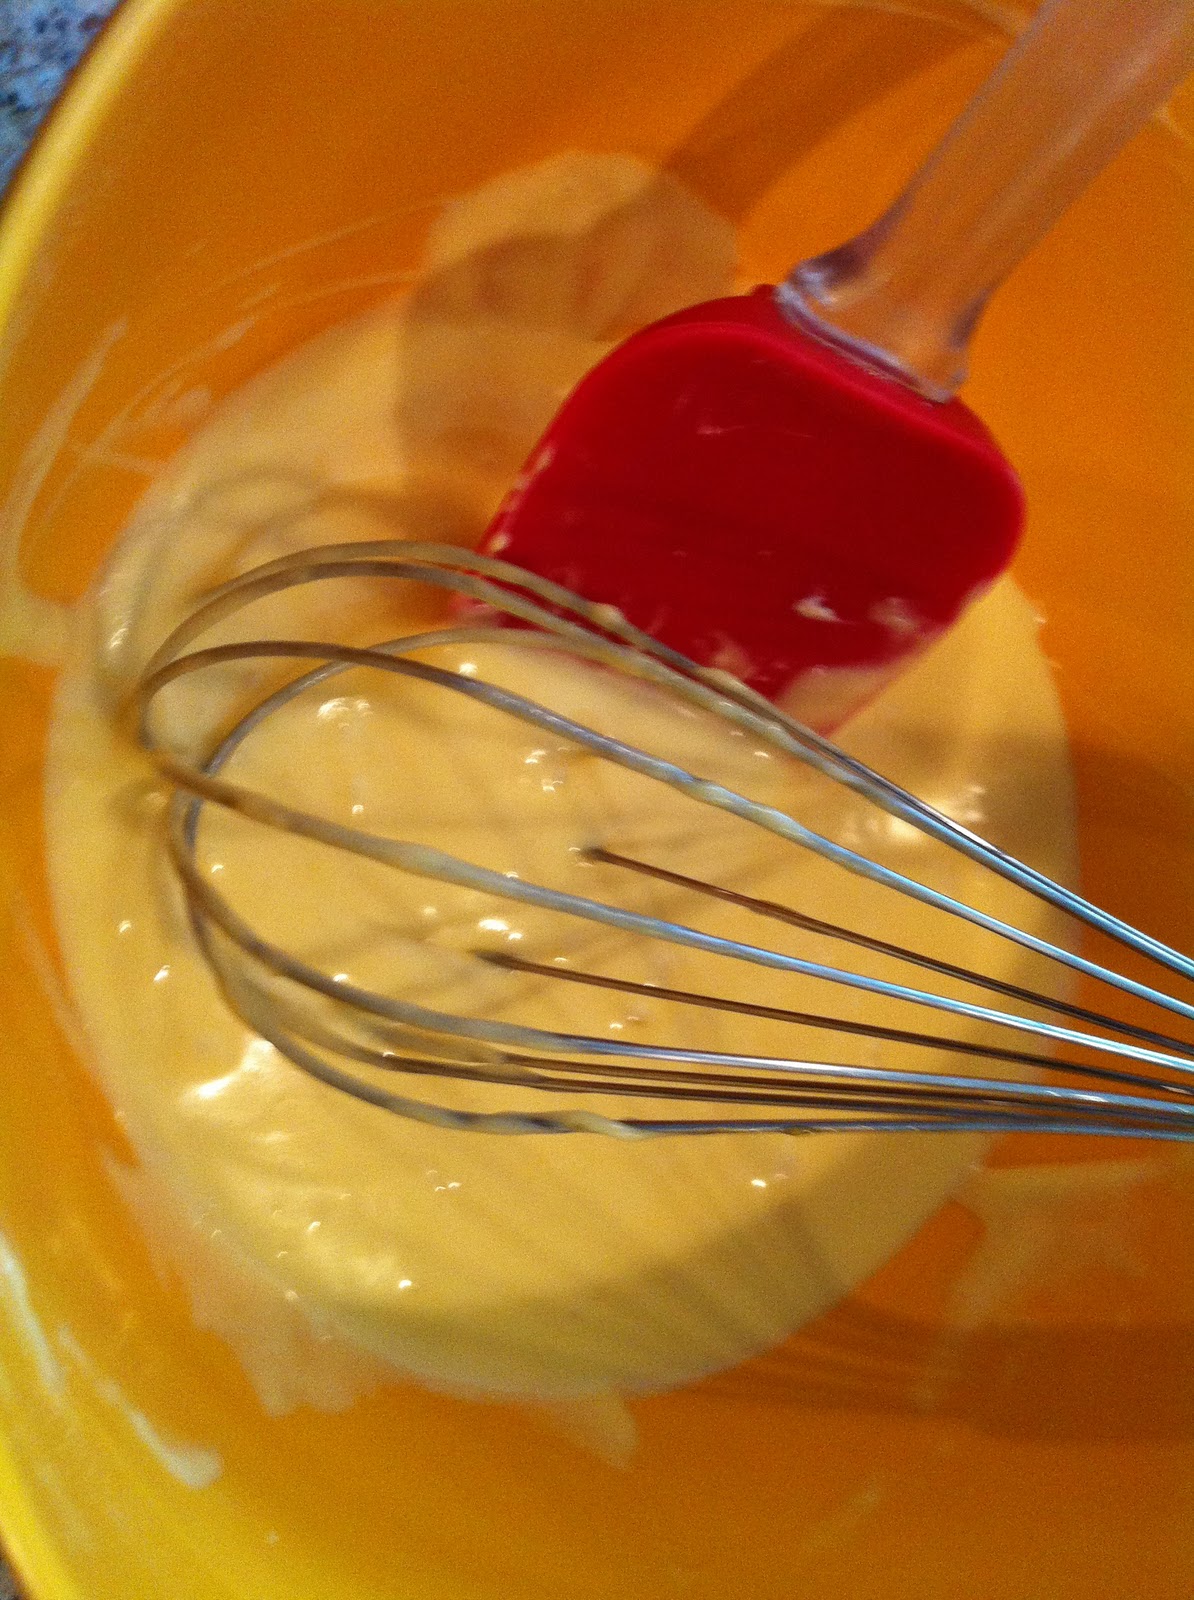
4. Crack eggs into a bowl. Lightly beat the egg with a whisk and keep the whisk on the bottom of the bowl to prevent too much air/foam from getting into the egg mixture. 

5. Add milk and sugar in a pot. Stir and heat on stove until sugar is dissolved. 

6. Combine milk and egg mixtures. Strain through strainer and pour mixture into pudding molds. Cover each mold with aluminum foil. 


7. Heat water in a pan with a small towel at the bottom of the pan. Water level should cover bottom half of the pudding molds. Keep water temperature at just below the boiling point and steam for 18-20 minutes. Watch the water periodically to see if it has developed into a boil and adjust temperature as needed. 

8. Remove pudding molds from pan and chill for several hours until the custard has set. Then use a thin knife to separate the sides of the custard from the mold. Tap around the mold to release the custard from the mold. Flip upside down on to a shallow bowl or plate. Serve immediately. 


The combination of lightly sweetened smooth custard and the slightly bittersweet caramel sauce was quite divine. The slight bitterness of the caramel reminded us of a coffee flavor, which is commonly added in some recipes. The little dimples throughout the outside of the pudding seemed to result from foam or bubbles during the custard-making process. We'll definitely try to fix that problem before we serve to guests. 

In doing our research for this pudding, we found that this type of pudding is found in many different European, Latin, and Asian cultures all with their own little spin. Some adding condensed milk and some adding cream. The possibilities are endless with this dessert as you start to include additional flavorings such as coconut, coffee, or mango. 

Hope you give this recipe a try or at the very least watch some of the Cooking with Dog series. It is quite hilarious! 

Have a joyous Wednesday! 

Monday, September 26, 2011

Paper Wrapped Cake

Ever walk into your neighborhood Asian bakery and catch a whiff of that mildly sweet, eggy sponge cake that's often wrapped in paper like pretty little bouquets? There are only 2 locations (to my knowledge) that make these cakes in the Triangle area, one of which is a far drive and another of which is not my favorite place to shop.

The Husband always asks, "Oh, can we get one of these?" every time we're at one of these 2 locations. The look on his face when he eats these cakes with whipped cream and strawberries just tugs at my heart strings every time. So, I thought, "What's made in a bakery, surely can be made at home. Right?"

The key to these cakes is the light, fluffy texture and slightly sweet, eggy flavor. Anything that involves baking and detailed instructions tends to freak me out. But, what the heck... life's too short to live in fear of flat, soggy sponge cake. So, I gave it my best shot. The original recipe can be found here and while the measurements are not US friendly, they are easily decoded with any measurement converter.

Paper Wrapped Cake
Makes 5 medium or 6 small cakes

Ingredients
5 eggs, whites and yolks separated
50 grams (1.76 oz) butter, melted
60 ml milk
100 grams cake flour
80 grams sugar
1/4 teaspoon vanilla extract
1/4 teaspoon cream of tartar

Directions
1. Preheat oven to 355 F. (I actually had the oven at 180 F for the first 4 minutes of baking until I realized that the original recipe was 180 C. This conversion actually matters!)

2. Combine melted butter with milk. Sift cake flour into butter and milk and mix well. (It might look kind of like a white glob. This is normal.).

3. Whisk egg yolks. Add egg yolks and vanilla extract to cake flour, butter, and milk mixture. Whisk until smooth.


4. Use an electric hand mixer or stand mixer to whisk egg whites for 3 minutes on high. Add cream of tartar and mix 1 minute more. Add sugar and whisk until egg whites form stiff peaks.


5. Fold egg white mixture in thirds into cake flour mixture with a rubber spatula just until all ingredients are combined. Do not stir or mix otherwise you will deflate the batter.

6. Line oven-safe mugs or tall cake cups (like these) with baking paper (not waxed paper). You want the paper to be higher than the edge of the mug in case the batter rises.

7. Pour batter into the lined mugs. Bake for 25-30 minutes. Check centers with a toothpick and if clean, remove from heat.


8. Allow the cakes to cool in the mugs for 1-2 minutes. Then remove and let cool on a wire rack.

Don't let the number of steps fool you. This is not hard to make and in fact it is super easy as long as you follow the directions. While we were waiting the (excruciating) long 25 minutes for the cakes to bake, we kept wondering whether they would be flat, dense cakey messes at the bottom of our mugs. But we were pleasantly surprised and devoured 3 of them before they completely cooled.

Hope you try these and prove to yourself that you (too) can bake delicious Asian pastries at home.

Have a fabulous Monday!

Friday, August 5, 2011

Banana Cream Pie

The Husband is in love with Banana Cream Pie. I'm not sure if it's nostalgic of his childhood or if it is the light, creamy custard that fills your mouth with every bite. So of course, I had to make it for his birthday. The only problem is that I've never really made a pie neither have I ever made pie crust from scratch. 

My first thought was to see if Mark Bittman had any insights in How to Cook Everything. Flaky Pie Crust Recipe. Check! I used the custard recipe from a fellow blogger, beurrista, but decided to use Bittman's pie crust recipe because I didn't feel like buying shortening (as directed in the custard recipe).

I've linked the recipes here because they are quite long and why reinvent the wheel when they have already been posted elsewhere. The only thing I did differently for the custard was to fold in 1 cup of the whipped cream to create a lighter texture. I made a separate cup of whipped cream for the topping. 


Note to self: Pie crust is filled with butter and will be very difficult to roll out unless well floured. 


Note to self: Custard will curdle easily if left unattended. One batch of custard went down the drain because of inattentiveness. 


My edit of the custard recipe: Fold in whipped cream with the custard to lighten the texture. 


For my first pie-from-scratch attempt, I couldn't have asked for a simpler pie crust recipe. The custard and filling was quite an endeavor, but manageable as long as you are paying attention. The result was a flaky, crispy crust that withstood the tender, light custard and whipped cream topping. 

The Husband said that the pie was one of the top three Banana Cream Pies that he's ever tasted in his life. I'll take that! Thanks beurrista for the custard recipe. It was just as you described - heavenly. :)

No cooking this weekend. Last beach trip of the summer for some much needed R&R. See you next week where I'll feature what we had for The Husband's birthday dinner! 

Friday, April 22, 2011

Dining In: Asheville, NC

My weekend in Asheville was filled with time at the gorgeous spa at Grove Park Inn, leisurely walks around eclectic little shops (where I found a sun hat!), and lots of yummy food. (The Husband was there for a conference so he probably had much less fun than I did :P).  One of our stops was Bouchon Street Food, which is a more casual version of the full-on French restaurant next door (called Bouchon, of course). 

The food was undeniably French with country style pork and duck pate, a ham and cheese crepe with a duck egg, and escargot! It was SO good. 


For a late brunch, we braved the long lines at Tupelo Honey Cafe. Luckily, we got seated at the bar where we could watch while our food was being prepared. After the long wait, the biscuits and black raspberry jam hit the spot. So did the fried green tomatoes with goat cheese grits. YUM.  

The Eggs Beddy was delicious, although I wished my yolk was a little more runny, and The Husband's fried chicken and biscuits were surprisingly good for fried white meat!


We then ventured to Chocolate Fetish for some scrumptious chocolate treats. Flavors pictured include Champagne, Dragon's Breath (wasabi and sesame), Basil Pistachio, and Pistachio Frog.


Final stop before heading home was at Ultimate Ice Cream, which reportedly is some of the best ice cream that some reviewers have ever tasted. The Flaky Coconut and Butter Pecan were true to flavor and wonderfully creamy. 


All in all, Asheville is a little treasure in the mountains. We'll definitely be returning for more. 

Have a great weekend! 


Friday, April 1, 2011

Feast on Brunch

Last weekend, The Husband and I helped to plan and cook a 20+ person brunch for a departmental gathering. It was fun to plan the menu and then prep the whole meal, as we've never cooked for that many people before. Note to self: Caterers must work really hard.

Here was the menu:
 

The Start. 


The Middle. 


The End. 


I must say the Candied Pepper Bacon glazed with maple syrup and then flambéed to perfection was the crowd favorite. 

Not the best pictures because I was running around cooking, but just wanted to give you a taste of our Sunday brunch. Time to plan our next. Who wants to visit??? 

Have a great weekend and perhaps brunch! :)