Showing posts with label eggs. Show all posts

Friday, November 18, 2011

Dining In: Washington, DC - Founding Farmers

To round out the week with dining in DC, last but not least Founding Farmers. A chic yet rustic restaurant that feels like country farm meets posh urban dining. We had brunch there and I am so glad we ordered the French press coffee (so smooth and delicious).  


Pretty suspended bird lights.


The piping hot doughnut holes were simply divine with chocolate, caramel, and raspberry dipping sauces. 


I had the Benedict Arnold with Sausage and Black Pepper Cream Gravy. Quite a heavy breakfast, but I love sausage and eggs. The leek hash browns were also quite good. 


The Husband had the Pastrami Hash, which he was also quite pleased with. 

I imagine that in most large cities, Sunday brunch is a time when most of the city is out looking for somewhere comforting to eat. This is certainly that kind of place, cosy and nourishing. I'm glad we tried it and next time we'll probably try to return for dinner or lunch to try some of their more complex dishes. *Note, this is definitely the kind of place you want to make reservations for. 

Have a fun-filled weekend!


Wednesday, October 12, 2011

Japanese Custard Pudding

If you've ever been to Asia, you likely have encountered various forms of pudding made of yellowy, egg custard topped with a layer of velvety caramel sauce. This much beloved dessert has spawned cartoon characters, popsicle flavors, and even pudding-shaped costumes. 

This weekend, The Husband and I decided to try our hand at making this dessert with the help of the Cooking with Dog series. This is a hilarious Japanese youtube series in which a gray poodle narrates all of the instructions while a deft Japanese woman demonstrates. 

Japanese Custard Pudding
Serves 4, depending on size of custard cup

Ingredients
Caramel Sauce
4 tbsp Sugar

1 tbsp Water

1½~2 tbsp Hot Water

Custard Pudding
2 Eggs

250 ml Milk (8.45 fl oz)

5 tbsp Sugar

4 Pudding Molds
Small tab of unsalted butter

Directions
1. Coat inner surface of pudding mold with unsalted butter. Makes removal from molds easier after the custard has set.

2. For caramel sauce, place sugar and room temperature water in a pot and heat at medium heat. Swirl the pot back and forth while the sugar caramelizes to a golden brown color. (Make sure you don't burn the sugar or it will taste bitter!)


3. Remove from heat. Then pour hot water into the caramelized sugar to thin out the caramel and deglaze from sides of the pot. (Be careful as this process will release a lot of steam so don't burn yourself.)  Pour sugar into pudding molds. 


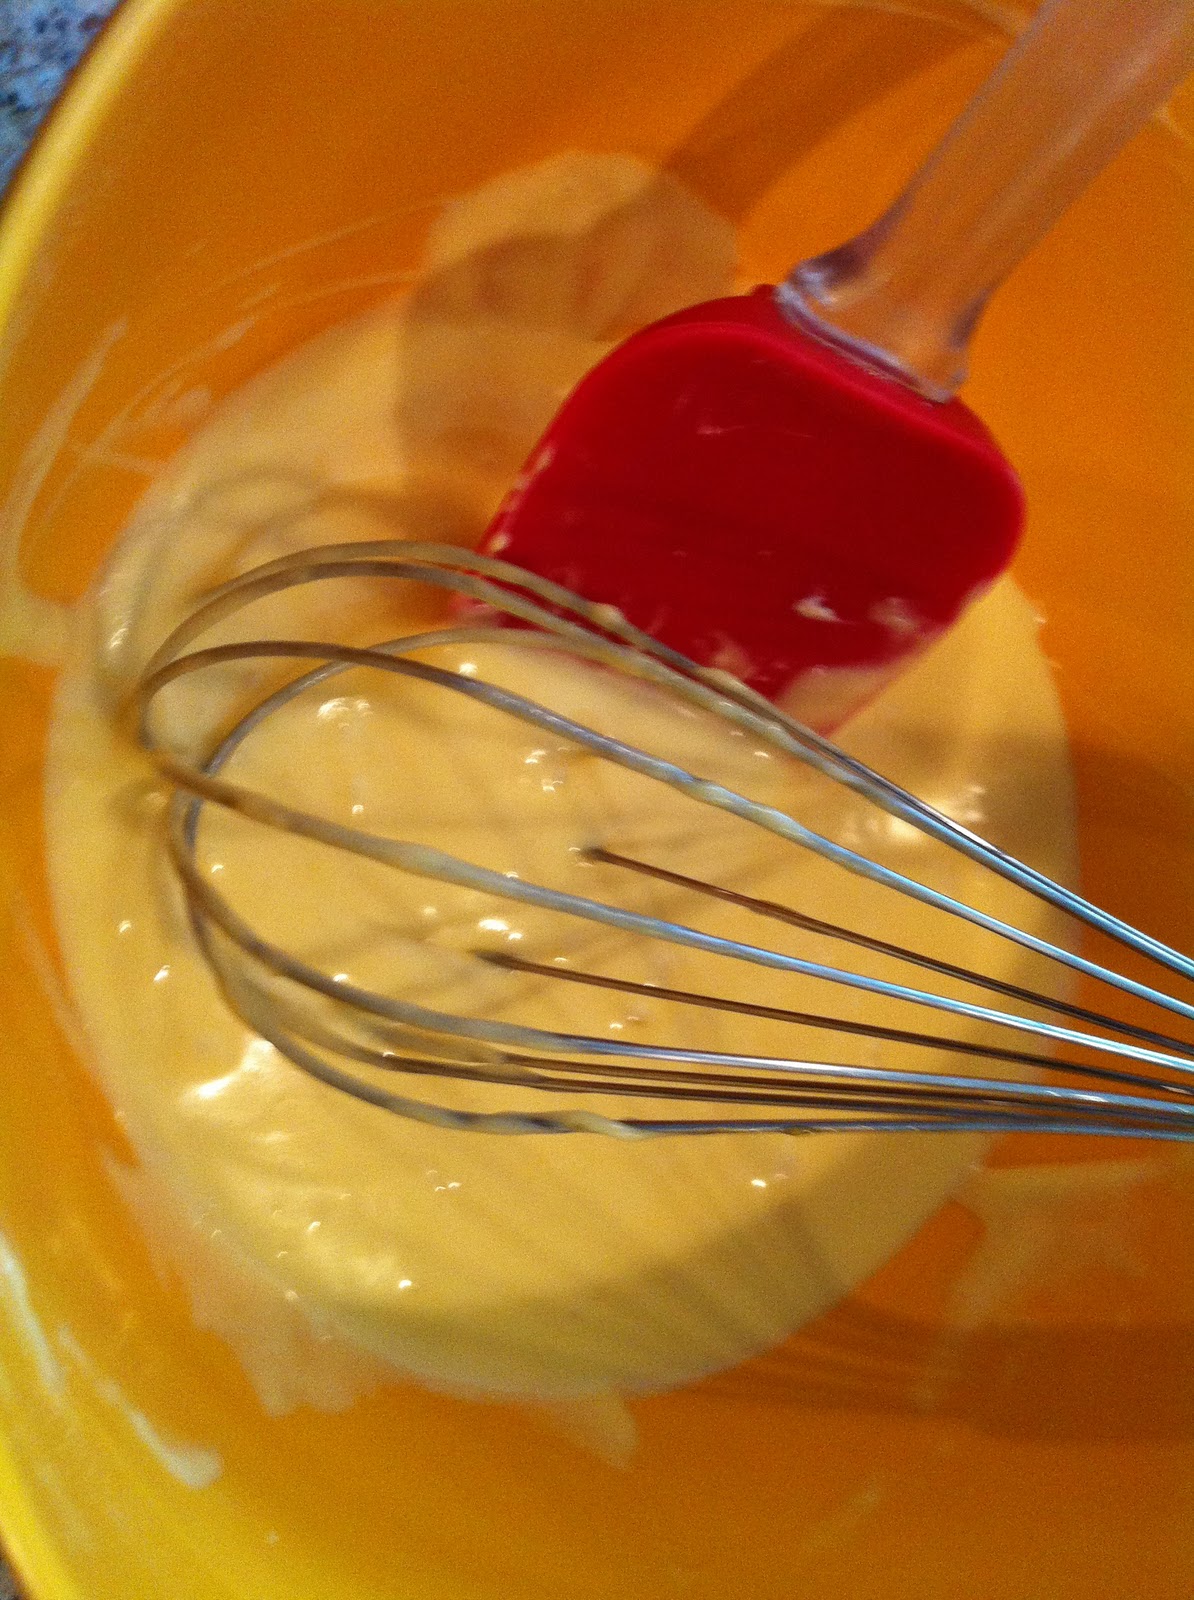
4. Crack eggs into a bowl. Lightly beat the egg with a whisk and keep the whisk on the bottom of the bowl to prevent too much air/foam from getting into the egg mixture. 

5. Add milk and sugar in a pot. Stir and heat on stove until sugar is dissolved. 

6. Combine milk and egg mixtures. Strain through strainer and pour mixture into pudding molds. Cover each mold with aluminum foil. 


7. Heat water in a pan with a small towel at the bottom of the pan. Water level should cover bottom half of the pudding molds. Keep water temperature at just below the boiling point and steam for 18-20 minutes. Watch the water periodically to see if it has developed into a boil and adjust temperature as needed. 

8. Remove pudding molds from pan and chill for several hours until the custard has set. Then use a thin knife to separate the sides of the custard from the mold. Tap around the mold to release the custard from the mold. Flip upside down on to a shallow bowl or plate. Serve immediately. 


The combination of lightly sweetened smooth custard and the slightly bittersweet caramel sauce was quite divine. The slight bitterness of the caramel reminded us of a coffee flavor, which is commonly added in some recipes. The little dimples throughout the outside of the pudding seemed to result from foam or bubbles during the custard-making process. We'll definitely try to fix that problem before we serve to guests. 

In doing our research for this pudding, we found that this type of pudding is found in many different European, Latin, and Asian cultures all with their own little spin. Some adding condensed milk and some adding cream. The possibilities are endless with this dessert as you start to include additional flavorings such as coconut, coffee, or mango. 

Hope you give this recipe a try or at the very least watch some of the Cooking with Dog series. It is quite hilarious! 

Have a joyous Wednesday! 

Monday, September 26, 2011

Paper Wrapped Cake

Ever walk into your neighborhood Asian bakery and catch a whiff of that mildly sweet, eggy sponge cake that's often wrapped in paper like pretty little bouquets? There are only 2 locations (to my knowledge) that make these cakes in the Triangle area, one of which is a far drive and another of which is not my favorite place to shop.

The Husband always asks, "Oh, can we get one of these?" every time we're at one of these 2 locations. The look on his face when he eats these cakes with whipped cream and strawberries just tugs at my heart strings every time. So, I thought, "What's made in a bakery, surely can be made at home. Right?"

The key to these cakes is the light, fluffy texture and slightly sweet, eggy flavor. Anything that involves baking and detailed instructions tends to freak me out. But, what the heck... life's too short to live in fear of flat, soggy sponge cake. So, I gave it my best shot. The original recipe can be found here and while the measurements are not US friendly, they are easily decoded with any measurement converter.

Paper Wrapped Cake
Makes 5 medium or 6 small cakes

Ingredients
5 eggs, whites and yolks separated
50 grams (1.76 oz) butter, melted
60 ml milk
100 grams cake flour
80 grams sugar
1/4 teaspoon vanilla extract
1/4 teaspoon cream of tartar

Directions
1. Preheat oven to 355 F. (I actually had the oven at 180 F for the first 4 minutes of baking until I realized that the original recipe was 180 C. This conversion actually matters!)

2. Combine melted butter with milk. Sift cake flour into butter and milk and mix well. (It might look kind of like a white glob. This is normal.).

3. Whisk egg yolks. Add egg yolks and vanilla extract to cake flour, butter, and milk mixture. Whisk until smooth.


4. Use an electric hand mixer or stand mixer to whisk egg whites for 3 minutes on high. Add cream of tartar and mix 1 minute more. Add sugar and whisk until egg whites form stiff peaks.


5. Fold egg white mixture in thirds into cake flour mixture with a rubber spatula just until all ingredients are combined. Do not stir or mix otherwise you will deflate the batter.

6. Line oven-safe mugs or tall cake cups (like these) with baking paper (not waxed paper). You want the paper to be higher than the edge of the mug in case the batter rises.

7. Pour batter into the lined mugs. Bake for 25-30 minutes. Check centers with a toothpick and if clean, remove from heat.


8. Allow the cakes to cool in the mugs for 1-2 minutes. Then remove and let cool on a wire rack.

Don't let the number of steps fool you. This is not hard to make and in fact it is super easy as long as you follow the directions. While we were waiting the (excruciating) long 25 minutes for the cakes to bake, we kept wondering whether they would be flat, dense cakey messes at the bottom of our mugs. But we were pleasantly surprised and devoured 3 of them before they completely cooled.

Hope you try these and prove to yourself that you (too) can bake delicious Asian pastries at home.

Have a fabulous Monday!

Wednesday, August 10, 2011

Homemade Potato Gnocchi

A lonely sack of 5 lb potatoes was sitting on our kitchen bench. Since we rarely eat potatoes, I don't know what possessed us to purchase a 5 lb sack. I had some great suggestions to make gratin dauphinois or 5 lbs of french fries. But I decided to overcome my fears of making potato gnocchi and give it one more try. I tried making gnocchi once in college and it was a complete fail. The dough was a ball of sticky mush that never ended up in our mouths. 

This recipe is from Smitten Kitchen. I think I mostly chose it because I could identify with her failed attempts and the pictures made me drool. 

Ingredients
2 pounds Russet potatoes
1 1/2 cups flour

1 teaspoon salt

1 large egg, lightly beaten

Directions
1. Preheat your oven to 400°F. Prick the potatoes all over with a fork, and bake them on a baking sheet for 45 minutes to one hour, or until they are fork-tender. For best results, turn the potatoes over halfway through the baking time. Let the potatoes cool slightly.

2. Peel the potatoes, and then pass them through a potato ricer, food mill or grate them over the large holes of a box grater into a large bowl. Add the lightly beaten egg and the salt to the potatoes and mix well with a wooden spoon.


3. Add the flour to the potatoes a little at a time, using only as much as you need so that the dough will not stick to your hands. When the flour has been incorporated, bring the dough together with your fingertips.

4. Dump the dough and any remaining floury bits onto a slightly floured surface. Knead the dough as you would bread dough. Press down and away with the heel of your hand, fold the dough over, make a quarter turn, and repeat the process. Knead for about three or four minutes.

5. Form the dough into a ball and then divide it into 6 smaller balls. On a lightly floured surface, roll out one of the six pieces using your fingertips into a long rope about 3/4 inch thick. Cut the dough into 1 inch pieces.


6. You can cook the gnocchi as it is now, but traditional gnocchi has ridges. To create the ridges, press each piece of dough against the tines of a fork. With your finger, gently roll the pressed dough back off the fork. This takes a little practice. If you find the dough sticking to the fork, dip the fork in flour before you press the dough against it.

7. Place the gnocchi in a single layer on a lightly floured or parchment-lined dish. If you’d like to freeze them for later use, do so on this tray and once they are frozen, drop them into a freezer bag. This ensures that you won’t have one enormous gnocchi mass when you are ready to cook them.

8. To cook the gnocchi, place them into a pot of boiling and well-salted water. After a few minutes the gnocchi will float to the top. Continue to cook for one minute then remove and set aside.


If your dough ball comes an unruly, sticky mess, do not give up! Keep adding flour slowly and eventually it will stop sticking. I thought about throwing the whole batch away when large stabs of dough kept sticking to my entire palm, but I just kept at it. 

The result is light, chewy gnocchi that is quite fabulous lightly pan-seared after a quick boil. Since these take considerable effort (especially in the beginning), I would suggest making a bunch and freezing for rainy days. 

Gnocchi-making aversion? Cured!

Friday, August 5, 2011

Banana Cream Pie

The Husband is in love with Banana Cream Pie. I'm not sure if it's nostalgic of his childhood or if it is the light, creamy custard that fills your mouth with every bite. So of course, I had to make it for his birthday. The only problem is that I've never really made a pie neither have I ever made pie crust from scratch. 

My first thought was to see if Mark Bittman had any insights in How to Cook Everything. Flaky Pie Crust Recipe. Check! I used the custard recipe from a fellow blogger, beurrista, but decided to use Bittman's pie crust recipe because I didn't feel like buying shortening (as directed in the custard recipe).

I've linked the recipes here because they are quite long and why reinvent the wheel when they have already been posted elsewhere. The only thing I did differently for the custard was to fold in 1 cup of the whipped cream to create a lighter texture. I made a separate cup of whipped cream for the topping. 


Note to self: Pie crust is filled with butter and will be very difficult to roll out unless well floured. 


Note to self: Custard will curdle easily if left unattended. One batch of custard went down the drain because of inattentiveness. 


My edit of the custard recipe: Fold in whipped cream with the custard to lighten the texture. 


For my first pie-from-scratch attempt, I couldn't have asked for a simpler pie crust recipe. The custard and filling was quite an endeavor, but manageable as long as you are paying attention. The result was a flaky, crispy crust that withstood the tender, light custard and whipped cream topping. 

The Husband said that the pie was one of the top three Banana Cream Pies that he's ever tasted in his life. I'll take that! Thanks beurrista for the custard recipe. It was just as you described - heavenly. :)

No cooking this weekend. Last beach trip of the summer for some much needed R&R. See you next week where I'll feature what we had for The Husband's birthday dinner! 

Friday, July 29, 2011

Pasta with Creamy Leek and Garlic Pesto

A few weeks ago Mark Bittman share this recipe on the NYTimes, which The Husband had to try. It's actually quite rare for us to buy leeks because as The Sister likes to say, "Leeks just look like scary green onions." However, if cooked enough they are quite sweet and flavorful.

We recently watched Jacque Pepin make a Leek and Potato Soup on PBS, where he quartered the leeks length-wise to wash. You'd be surprised how much dirt comes out of the tightly wrapped layers of leek. So make sure you use this technique and wash thoroughly!


Pasta with Creamy Leek and Garlic Pesto

Ingredients

3 tablespoons extra virgin olive oil, or as needed
4 ounces bacon, chopped
4 or 5 garlic cloves, thinly sliced
About 1 1/2 pounds leeks (2 or 3 large), trimmed, well rinsed, and chopped
Salt
1 egg * The Husband adds 2 to make it super creamy
1 cup chopped fresh parsley leaves, plus more for garnish
Black pepper
8 ounces any pasta
* Parmesan cheese is added on every pasta dish at our house

Directions
1. Heat 1 tablespoon of the oil in a medium skillet over medium-high heat; add the bacon and cook, stirring occasionally, until just beginning to crisp, 8 to 10 minutes. Remove the bacon from the pan with a slotted spoon and drain it on paper towels.


2. Turn the heat to medium. Add the garlic and leeks to the skillet, along with another tablespoon or so of oil if needed to keep things from sticking, and cook, stirring occasionally, until very soft, 20 to 30 minutes.


3. Meanwhile, bring a large pot of water to a boil and salt it. Transfer the garlic and leeks to a blender or food processor with the egg, parsley and a sprinkling of salt and pepper. Process, stopping to scrape down the sides of the container if necessary. Return the purée to the skillet, off heat.


4. Cook the pasta in the boiling water until it’s tender but not mushy, then drain, reserving some of the cooking liquid. Turn the heat under the leek mixture to medium, add about 1/4 cup of the reserved cooking liquid to thin the pesto, and toss in the pasta, adding more liquid as needed. Taste and adjust the seasoning, garnish with the bacon and more parsley, and serve.


We are always descending on this dish so quickly that I forgot to take the picture while it was plated! This dish is super simple and you can see how easy it is on Mark Bittman's video demonstration

Hope you have a great weekend. Next week, I'll be sharing pictures and posts from the Bizarre Food Challenge that is tonight. Stay Tuned!


Friday, April 22, 2011

Dining In: Asheville, NC

My weekend in Asheville was filled with time at the gorgeous spa at Grove Park Inn, leisurely walks around eclectic little shops (where I found a sun hat!), and lots of yummy food. (The Husband was there for a conference so he probably had much less fun than I did :P).  One of our stops was Bouchon Street Food, which is a more casual version of the full-on French restaurant next door (called Bouchon, of course). 

The food was undeniably French with country style pork and duck pate, a ham and cheese crepe with a duck egg, and escargot! It was SO good. 


For a late brunch, we braved the long lines at Tupelo Honey Cafe. Luckily, we got seated at the bar where we could watch while our food was being prepared. After the long wait, the biscuits and black raspberry jam hit the spot. So did the fried green tomatoes with goat cheese grits. YUM.  

The Eggs Beddy was delicious, although I wished my yolk was a little more runny, and The Husband's fried chicken and biscuits were surprisingly good for fried white meat!


We then ventured to Chocolate Fetish for some scrumptious chocolate treats. Flavors pictured include Champagne, Dragon's Breath (wasabi and sesame), Basil Pistachio, and Pistachio Frog.


Final stop before heading home was at Ultimate Ice Cream, which reportedly is some of the best ice cream that some reviewers have ever tasted. The Flaky Coconut and Butter Pecan were true to flavor and wonderfully creamy. 


All in all, Asheville is a little treasure in the mountains. We'll definitely be returning for more. 

Have a great weekend!