Showing posts with label sugar. Show all posts

Monday, January 23, 2012

Dining In: Durham, NC - Daisy Cakes

I can't believe it is almost the end of January. January has been a particularly cold month, which always makes me crave sweets and warm drinks. A friend suggested that we head to Daisy Cakes for an afternoon tea and cupcakes, which I'm always up for. 

Daisy Cakes is located on Foster St. right next to the Durham Farmer's Market. The shop appears to have only been open for a few months, but I recall seeing their cupcake truck, "Sugar,"  making rounds at the Farmer's Market. Unfortunately every time I attempted to get to them early enough on Saturdays, they were always sold out of cupcakes. 


The cafe itself is extremely clean and modern feeling with white on brick. Several choices of cupcakes were offered as well as cookies, marcarons, and a decent savory menu for lunch. 


coconut cupcake with passion fruit frosting


might leaf chamomile and citrus tea

I loved the dishes and mugs used here. They were clean, modern, and adorable. The cupcake itself was somewhat dry although the frosting was interesting and creamy. I think next time I'll try a more classic cupcake like chocolate or vanilla next time to see if it has more moisture. I'd probably also throw in a chocolate chip cookie for kicks. 

Even if you aren't a big fan of sweets, this place is worth checking out for a quiet, casual afternoon of tea and treats with friends. Great atmosphere, drinks, and service! 

Have a great Monday! 


Wednesday, October 12, 2011

Japanese Custard Pudding

If you've ever been to Asia, you likely have encountered various forms of pudding made of yellowy, egg custard topped with a layer of velvety caramel sauce. This much beloved dessert has spawned cartoon characters, popsicle flavors, and even pudding-shaped costumes. 

This weekend, The Husband and I decided to try our hand at making this dessert with the help of the Cooking with Dog series. This is a hilarious Japanese youtube series in which a gray poodle narrates all of the instructions while a deft Japanese woman demonstrates. 

Japanese Custard Pudding
Serves 4, depending on size of custard cup

Ingredients
Caramel Sauce
4 tbsp Sugar

1 tbsp Water

1½~2 tbsp Hot Water

Custard Pudding
2 Eggs

250 ml Milk (8.45 fl oz)

5 tbsp Sugar

4 Pudding Molds
Small tab of unsalted butter

Directions
1. Coat inner surface of pudding mold with unsalted butter. Makes removal from molds easier after the custard has set.

2. For caramel sauce, place sugar and room temperature water in a pot and heat at medium heat. Swirl the pot back and forth while the sugar caramelizes to a golden brown color. (Make sure you don't burn the sugar or it will taste bitter!)


3. Remove from heat. Then pour hot water into the caramelized sugar to thin out the caramel and deglaze from sides of the pot. (Be careful as this process will release a lot of steam so don't burn yourself.)  Pour sugar into pudding molds. 


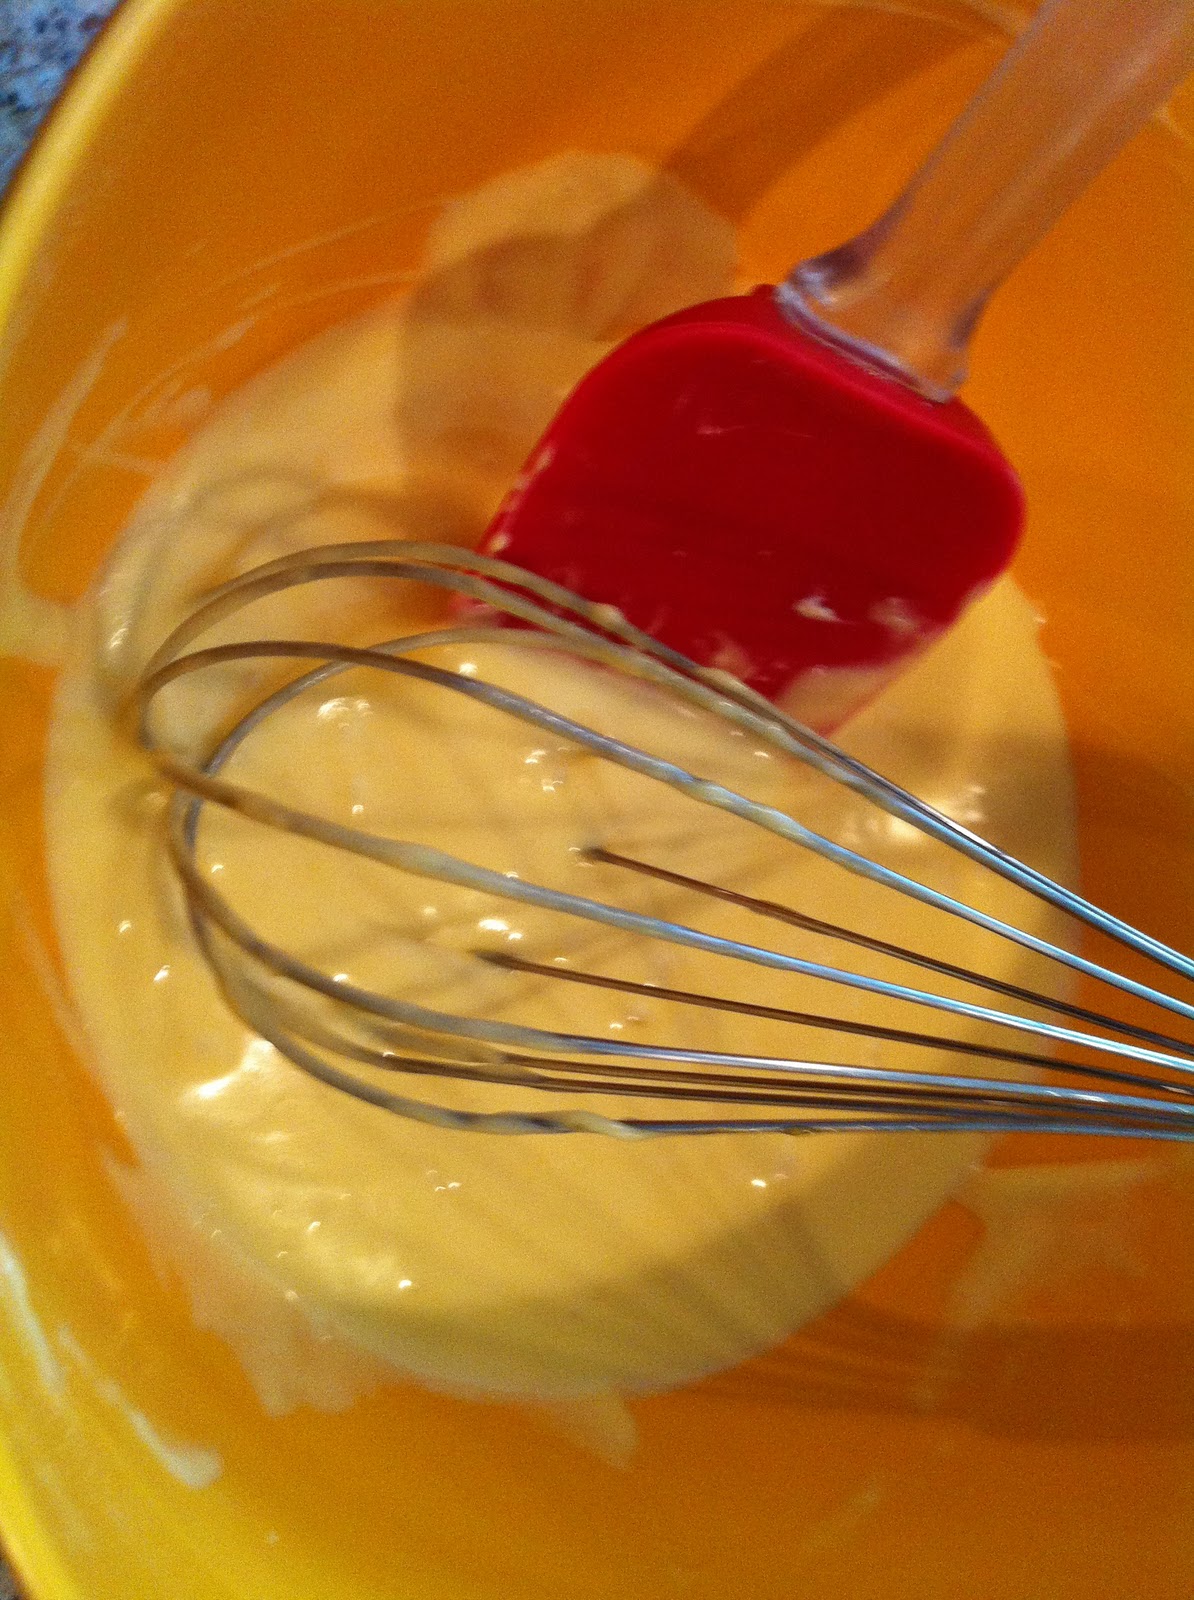
4. Crack eggs into a bowl. Lightly beat the egg with a whisk and keep the whisk on the bottom of the bowl to prevent too much air/foam from getting into the egg mixture. 

5. Add milk and sugar in a pot. Stir and heat on stove until sugar is dissolved. 

6. Combine milk and egg mixtures. Strain through strainer and pour mixture into pudding molds. Cover each mold with aluminum foil. 


7. Heat water in a pan with a small towel at the bottom of the pan. Water level should cover bottom half of the pudding molds. Keep water temperature at just below the boiling point and steam for 18-20 minutes. Watch the water periodically to see if it has developed into a boil and adjust temperature as needed. 

8. Remove pudding molds from pan and chill for several hours until the custard has set. Then use a thin knife to separate the sides of the custard from the mold. Tap around the mold to release the custard from the mold. Flip upside down on to a shallow bowl or plate. Serve immediately. 


The combination of lightly sweetened smooth custard and the slightly bittersweet caramel sauce was quite divine. The slight bitterness of the caramel reminded us of a coffee flavor, which is commonly added in some recipes. The little dimples throughout the outside of the pudding seemed to result from foam or bubbles during the custard-making process. We'll definitely try to fix that problem before we serve to guests. 

In doing our research for this pudding, we found that this type of pudding is found in many different European, Latin, and Asian cultures all with their own little spin. Some adding condensed milk and some adding cream. The possibilities are endless with this dessert as you start to include additional flavorings such as coconut, coffee, or mango. 

Hope you give this recipe a try or at the very least watch some of the Cooking with Dog series. It is quite hilarious! 

Have a joyous Wednesday! 

Friday, October 7, 2011

Sweet and Sour Pork Ribs 糖醋排骨

Continuing on with the nostalgic recipes from my mother's archives, this one is one of my favorites. If you can imagine candy in meat form, this would be it. With combinations of sweet, salty, and a tinge of sour, this dish has been one of the most often requested dishes throughout my college, grad, and post-grad years.

One of my favorite parts of this recipe is that it is SO easy to remember the proportions. My mother used to recite this recipe in Chinese in a sing-song voice and it has been imprinted in my mind forever. I hope one day my kids will have the recipe stuck in their heads forever too so they can enjoy this delicious treat.

Sweet and Sour Pork Ribs 糖醋排骨

Ingredients
1.5-2 lbs of pork ribs or baby back ribs (cut lengthwise into approx. 1 inch strips by your butcher)
1 tbsp cooking wine
2 tbsp white vinegar
3 tbsp soy sauce
4 tbsp sugar
10 tbsp + water

* Notice how the proportions are consecutive (1, 2, 3, 4), which means if you make more or less meat just use a larger or smaller spoon to measure out the ingredients.

Directions
1. Cut the long strips of ribs into bite sized pieces by cutting between each of the rib bones.

2. Boil a stockpot of water and blanch the pork ribs to clean and remove impurities just until the pork has turned gray. Strain and set aside.

3. In the stockpot, combine cooking wine, vinegar, sugar, and water. Turn pork ribs into the stockpot and turn on high heat.

4. This is the part that requires continued attention: As the soy sauce mixture cooks with the ribs, you must keep an eye on this because the sugar will caramelize quickly. You'll want to continue to stir and coat the ribs with the sauce that will be bubbling quickly.


5.  Once you are sure the pork is cooked, you can remove a piece and test the texture. If the meat is a little too tough, add more water as the longer the pork cooks in the mixture it will become more tender. If you are needing more salt, sugar, or vinegar flavor feel free to add more at this step.


6. When you are happy with the texture of the pork, allow the sauce to thicken to your desired consistency. It should resemble a sweet, burgundy glaze over the ribs.

7. Serve with hot white rice and enjoy!


Be ready to see these ribs disappear quickly from the plate. Might as well overestimate the number of servings just in case.

Hoping to dive into some more recipes this weekend (fingers crossed). Have a great one! 


Monday, September 26, 2011

Paper Wrapped Cake

Ever walk into your neighborhood Asian bakery and catch a whiff of that mildly sweet, eggy sponge cake that's often wrapped in paper like pretty little bouquets? There are only 2 locations (to my knowledge) that make these cakes in the Triangle area, one of which is a far drive and another of which is not my favorite place to shop.

The Husband always asks, "Oh, can we get one of these?" every time we're at one of these 2 locations. The look on his face when he eats these cakes with whipped cream and strawberries just tugs at my heart strings every time. So, I thought, "What's made in a bakery, surely can be made at home. Right?"

The key to these cakes is the light, fluffy texture and slightly sweet, eggy flavor. Anything that involves baking and detailed instructions tends to freak me out. But, what the heck... life's too short to live in fear of flat, soggy sponge cake. So, I gave it my best shot. The original recipe can be found here and while the measurements are not US friendly, they are easily decoded with any measurement converter.

Paper Wrapped Cake
Makes 5 medium or 6 small cakes

Ingredients
5 eggs, whites and yolks separated
50 grams (1.76 oz) butter, melted
60 ml milk
100 grams cake flour
80 grams sugar
1/4 teaspoon vanilla extract
1/4 teaspoon cream of tartar

Directions
1. Preheat oven to 355 F. (I actually had the oven at 180 F for the first 4 minutes of baking until I realized that the original recipe was 180 C. This conversion actually matters!)

2. Combine melted butter with milk. Sift cake flour into butter and milk and mix well. (It might look kind of like a white glob. This is normal.).

3. Whisk egg yolks. Add egg yolks and vanilla extract to cake flour, butter, and milk mixture. Whisk until smooth.


4. Use an electric hand mixer or stand mixer to whisk egg whites for 3 minutes on high. Add cream of tartar and mix 1 minute more. Add sugar and whisk until egg whites form stiff peaks.


5. Fold egg white mixture in thirds into cake flour mixture with a rubber spatula just until all ingredients are combined. Do not stir or mix otherwise you will deflate the batter.

6. Line oven-safe mugs or tall cake cups (like these) with baking paper (not waxed paper). You want the paper to be higher than the edge of the mug in case the batter rises.

7. Pour batter into the lined mugs. Bake for 25-30 minutes. Check centers with a toothpick and if clean, remove from heat.


8. Allow the cakes to cool in the mugs for 1-2 minutes. Then remove and let cool on a wire rack.

Don't let the number of steps fool you. This is not hard to make and in fact it is super easy as long as you follow the directions. While we were waiting the (excruciating) long 25 minutes for the cakes to bake, we kept wondering whether they would be flat, dense cakey messes at the bottom of our mugs. But we were pleasantly surprised and devoured 3 of them before they completely cooled.

Hope you try these and prove to yourself that you (too) can bake delicious Asian pastries at home.

Have a fabulous Monday!

Friday, August 5, 2011

Banana Cream Pie

The Husband is in love with Banana Cream Pie. I'm not sure if it's nostalgic of his childhood or if it is the light, creamy custard that fills your mouth with every bite. So of course, I had to make it for his birthday. The only problem is that I've never really made a pie neither have I ever made pie crust from scratch. 

My first thought was to see if Mark Bittman had any insights in How to Cook Everything. Flaky Pie Crust Recipe. Check! I used the custard recipe from a fellow blogger, beurrista, but decided to use Bittman's pie crust recipe because I didn't feel like buying shortening (as directed in the custard recipe).

I've linked the recipes here because they are quite long and why reinvent the wheel when they have already been posted elsewhere. The only thing I did differently for the custard was to fold in 1 cup of the whipped cream to create a lighter texture. I made a separate cup of whipped cream for the topping. 


Note to self: Pie crust is filled with butter and will be very difficult to roll out unless well floured. 


Note to self: Custard will curdle easily if left unattended. One batch of custard went down the drain because of inattentiveness. 


My edit of the custard recipe: Fold in whipped cream with the custard to lighten the texture. 


For my first pie-from-scratch attempt, I couldn't have asked for a simpler pie crust recipe. The custard and filling was quite an endeavor, but manageable as long as you are paying attention. The result was a flaky, crispy crust that withstood the tender, light custard and whipped cream topping. 

The Husband said that the pie was one of the top three Banana Cream Pies that he's ever tasted in his life. I'll take that! Thanks beurrista for the custard recipe. It was just as you described - heavenly. :)

No cooking this weekend. Last beach trip of the summer for some much needed R&R. See you next week where I'll feature what we had for The Husband's birthday dinner! 

Monday, August 1, 2011

Bizarre Food Birthday Challenge

Here are some pictures from our Bizarre Food Birthday Challenge. We had a blast trying new foods and hanging out with our friends. I didn't have a chance to capture every dish, but here is a sampling of items from the party. 

Preserved Duck Eggs with Rice and Scallions.


Grass Jelly Drink.


Spicy Thai Cantaloupe. 


Assorted Indian Delicacies.


Cake Pops.


Chocolate Covered Bacon. 


Kimchi Fried Rice.


Pork Ear and Tongue. 


Chocolate Chip, Peanut Butter, and Bacon Cookies.


Fresh Durian. 


The Full Roster. The winner was the Chocolate Covered Bacon. 


And, I finally made my first cake from America's Test Kitchen.

Coconut Layered Cake

Ingredients
CAKE
1 large egg
5 large egg whites
3/4 cup cream of coconut
1/4 cup water
1 teaspoon vanilla extract
1 teaspoon coconut extract
2 1/4 cups cake flour (9 ounces), sifted
1 cup granulated sugar
1 tablespoon baking powder
3/4 teaspoon table salt
12 tablespoons unsalted butter (1 1/2 sticks), cut into 12 pieces, softened, but still cool
2 cups packed sweetened shredded coconut (about 8 ounces)

BUTTERCREAM
4 large egg whites
1 cup granulated sugar
Pinch table salt
1 pound unsalted butter (4 sticks), each stick cut into 6 pieces, softened, but still cool
1/4 cup cream of coconut
1 teaspoon coconut extract
1 teaspoon vanilla extract

Directions
1. For the Cake: Adjust oven rack to lower-middle position and heat oven to 325 degrees. Grease two 9-inch round cake pans with shortening and dust with flour. 

2. Beat egg whites and whole egg in large measuring cup with fork to combine. Add cream of coconut, water, vanilla, and coconut extract and beat with fork until thoroughly combined.

3. Combine flour, sugar, baking powder, and salt in bowl of standing mixer fitted with paddle attachment. Mix on lowest speed to combine, about 30 seconds. With mixer still running on lowest speed, add butter 1 piece at a time, then beat until mixture resembles coarse meal, with butter bits no larger than small peas, 2 to 2 1/2 minutes.

4. With mixer still running, add 1 cup liquid. Increase speed to medium-high and beat until light and fluffy, about 45 seconds. With mixer still running, add remaining 1 cup liquid in steady stream (this should take about 15 seconds). Stop mixer and scrape down bowl with rubber spatula, then beat at medium-high speed to combine, about 15 seconds. (Batter will be thick.)

5. Divide batter between cake pans and level with offset or rubber spatula. Bake until deep golden brown, cakes pull away from sides of pans, and toothpick inserted into center of cakes comes out clean, about 30 minutes (rotate cakes after about 20 minutes). Do not turn off oven.

6. Cool in pans on wire racks about 10 minutes, then loosen cakes from sides of pans with paring knife, invert cakes onto racks and then re-invert; cool to room temperature. 

7. While cakes are cooling, spread shredded coconut on rimmed baking sheet; toast in oven until shreds are a mix of golden brown and white, about 15 to 20 minutes, stirring 2 or 3 times. Cool to room temperature.

8. For the Buttercream: Combine whites, sugar, and salt in bowl of standing mixer; set bowl over saucepan containing 1 1/2-inches of barely simmering water. Whisk constantly until mixture is opaque and warm to the touch and registers about 120 degrees on an instant-read thermometer, about 2 minutes. 

9. Transfer bowl to mixer and beat whites on high speed with whisk attachment until barely warm (about 80 degrees) and whites are glossy and sticky, about 7 minutes. Reduce speed to medium-high and beat in butter 1 piece at a time. Beat in cream of coconut and coconut and vanilla extracts. Stop mixer and scrape bottom and sides of bowl. Continue to beat at medium-high speed until well-combined, about 1 minute.
ASSEMBLING THE CAKE

1. With a long serrated knife, cut both cakes in half horizontally so that each cake forms two layers. 

2. Put a dab of icing on a cardboard round cut just larger than the cake. Center one cake layer on the round.

3. Place a large blob of icing in the center of the layer and spread it to the edges with an icing spatula.

4. Hold the spatula at a 45-degree angle to the cake and drag it across the surface to level the icing. Repeat steps 3 and 4 with remaining cake layers.

5. To ice the sides of the cake, scoop up a large dab of icing with the tip of the spatula and spread it on the sides with short side-to-side strokes. 
6. Sprinkle the top of the cake with coconut. Then press the coconut into the sides, letting the excess fall back onto a baking sheet.


It was a massive feast and now I think it is time to detox. More details on that endeavor in my next post. Have a great Monday! 

Monday, July 11, 2011

Our Favorite Chocolate Chip Cookie

This is one of our staples during rainy days or when we need to make a comforting treat for a party. You can never go wrong with having a classic chocolate chip cookie recipe in your pocket. This recipe produces cookies with a crispy bottom, soft chewy center, and oozy chocolate chips. Again, Mark Bittman was the source of this recipe. 

Classic Chocolate Chip Cookies
Makes: 3 to 4 dozen

Ingredients
1/2 pound (2 sticks) unsalted butter, softened
3/4 cup granulated sugar
3/4 cup brown sugar
2 eggs
2 cups all-purpose flour
1/2 teaspoon baking soda
1/2 teaspoon salt
1 teaspoon vanilla extract
2 cups chopped good-quality semisweet chocolate (about 8 ounces)

Directions
1. Heat the oven to 375°F. Use an electric mixer to cream together the butter and sugars; add the eggs one at a time and beat until well blended.


2. Mix the flour, baking soda, and salt together in a bowl. Add the dry ingredients to the dough, beat for a moment, then add the vanilla and stir in the chocolate chips.


3. Drop tablespoon-size mounds of dough about 3 inches apart in rows and columns on ungreased baking sheets. Bake until lightly browned, about 10 minutes. Cool for about 2 minutes on the sheets before using a spatula to transfer the cookies to a rack to finish cooling. Store in a tightly covered container at room temperature for no more than a day or two.


These cookies remain chewy for the majority of its shelf life and are obviously awesome with a tall glass of cold milk. Whether it's a rainy Monday or a stressful Tuesday, sometimes you just need a sweet, little pick-me-up.

Have a good Monday!

Friday, July 1, 2011

Blueberry Jammin'

It's blueberry-picking season and there is certainly no shortage of blueberries in North Carolina. We took The Family to Herndon Hills Farm, which has a whole field dedicated to these blue gems. After picking almost 4 lbs of blueberries, we were ready to learn how to make some blueberry jam from SDK (thanks!).


Blueberry mashing. 


Ingredients to cook with blueberry mash: sugar, cinnamon, nutmeg, butter, sure jell, and brandy.


Sterilizing the jars.


Beautiful blueberry jam. 


We had this jam the next morning with biscuits. It was simply sinful. After giving several jars away, we only have 2 left! The Sister says that she has found a new hobby and plans to pick more berries for more jamming. I think I want to try making hot pepper jam next! Shout out to SDK for teaching us a useful and delicious hobby :).

Happy early July 4th weekend with friends and family. Don't forget to go blueberry picking if possible!